- Home
- Snowflake Card
Die-cut Snowflake Birthday Card
This is a snowflake birthday card design featuring a die cut and embossed shimmering snowflake for someone whose birthday celebration is in the wintertime and snow is falling... and falling... outside.

Click on any image on this page for gallery and expanded view of all the birthday cards/celebration images within this article.
This is an easel card so it will likely be prominently displayed on the countertop or piano top in the living room where most people receive guests during the winter holidays.
It is very easy to make and you can find the directions here where an easel template is used to make a Christmas birthday card.
Directions for Making Snowflake Birthday Card
For this one, I made this a square instead of the standard card size. But the concept is still the same.
- For this, I cut the blue card stock to 4" by 8" and score at the centre at 4" and fold to make a blank card. Score the front panel at 2" (center) and valley fold (upward).
- Cut another piece of blue card stock measuring 4" x 4" square.
- Apply sticky tape to the top half and attach to the valley folded front panel.

- See the above image. The square card is attached to top half of the inside of the front panel.
- Line the front square card with light blue solid colour card stock - 3.75" x 3.75"
- Layer a snowflake design paper (3.5" x 3.5") on top of the light blue card.
- Die cut a snowflake on shimmering white card stock.
- Dry embossed the snowflake if desired.
- Use double-sided foam tape to attach to the centre front of square card.
- Line the inside of folded card with white cardstock measuring 3.75" x 3.75"

- Die cut a oblong shaped on another piece of light blue solid coloured card.
- Die cut a slightly smaller oblong shaped on a piece of white card stock with the Happy Birthday printed or stamped.
- Layer the two pieces of oblong shaped cards the white one on top of the light blue and attached to the inside of the card at the bottom.
- This will served as a stopper for the front panel so that it can stands up without sliding back flat.

This snowflake birthday card will closed flat when the front panel is lifted off behind the oblong shaped greetings.

It will be easy to slide into an envelope. Just becareful that the snowflake does get stuck on the envelope's flap. Now it's ready to be posted out by snail mail or hand delivered to the birthday guy or gal.

I made the envelope using the Envelope Punch Board. The measurements used to cut this envelope is:
- Paper size: 6.7/8" x 6.7/8" and cut at 3.1/2"
- Finished Envelope Size: 4.3/8" x 4.1/4"

Christmas Greeting Cards
For Christmas card ideas, check out my Making Greeting Cards site for inspiration.
Facebook Comments...Add Yours!
About

Hi! I'm Flora Grace! :-) Welcome to my site for all things related to birthdays; birthday cards and invitations as well as birthday celebrations, party decoration ideas and more.
FREE Birthday News
Sign up! I'll send inspirations straight to your inbox. It's free!
Recent Articles
-
Oh Happy Birthday - Nobody Send Birthday Cards These Days! True?
May 28, 25 02:27 AM
 Oh Happy Birthday to you! You will never stop sending paper birthday cards if you know how something so small could impact a life so powerfully.
 -
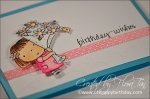
Cool Birthday Cards for Friends
Apr 14, 21 05:07 AM
 These birthday cards for friends whether for guys or girlfriends are so cool and special. You could post them or proudly deliver by hands. Friends forever!
 -
DIY Gift Wrap for Personalised Birthday Gifts
Mar 09, 21 03:57 AM
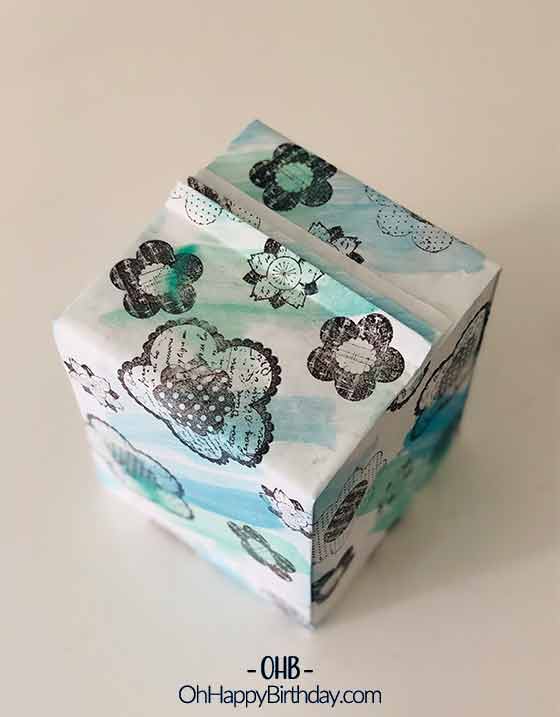 Make your own gift wrap using mahjong paper. Turn a plain sheet of white paper to a beautiful piece of wrapping paper for your birthday gift.
New! Comments
Please let me know what you think about this birthday card and/or article? Leave me a comment in the box below.